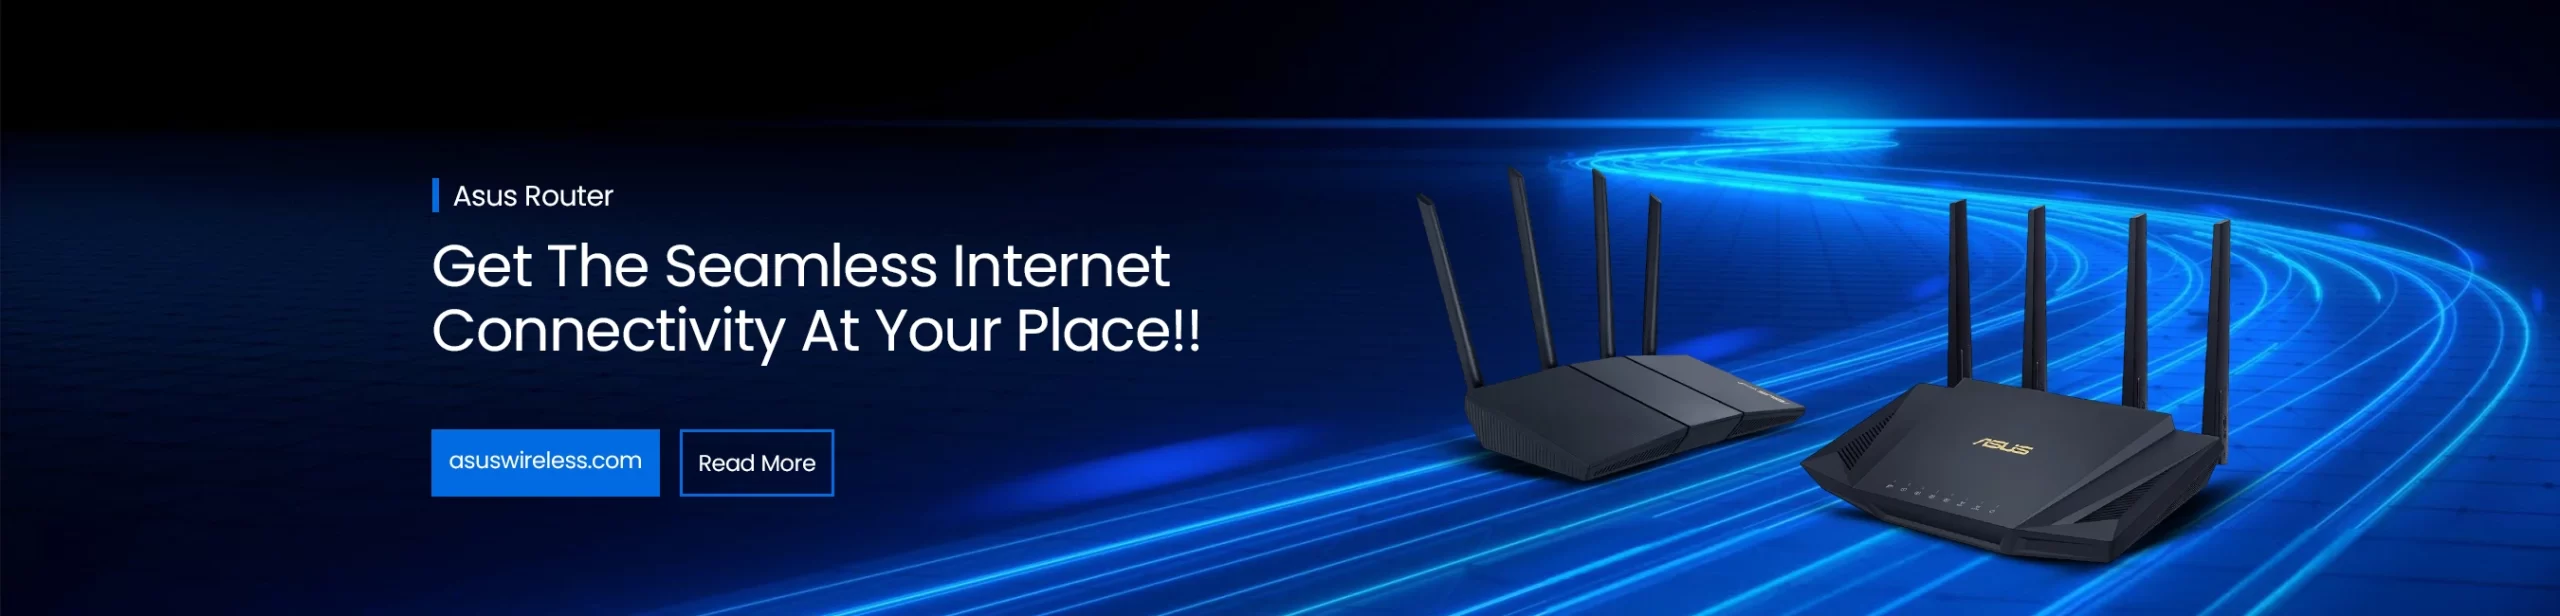
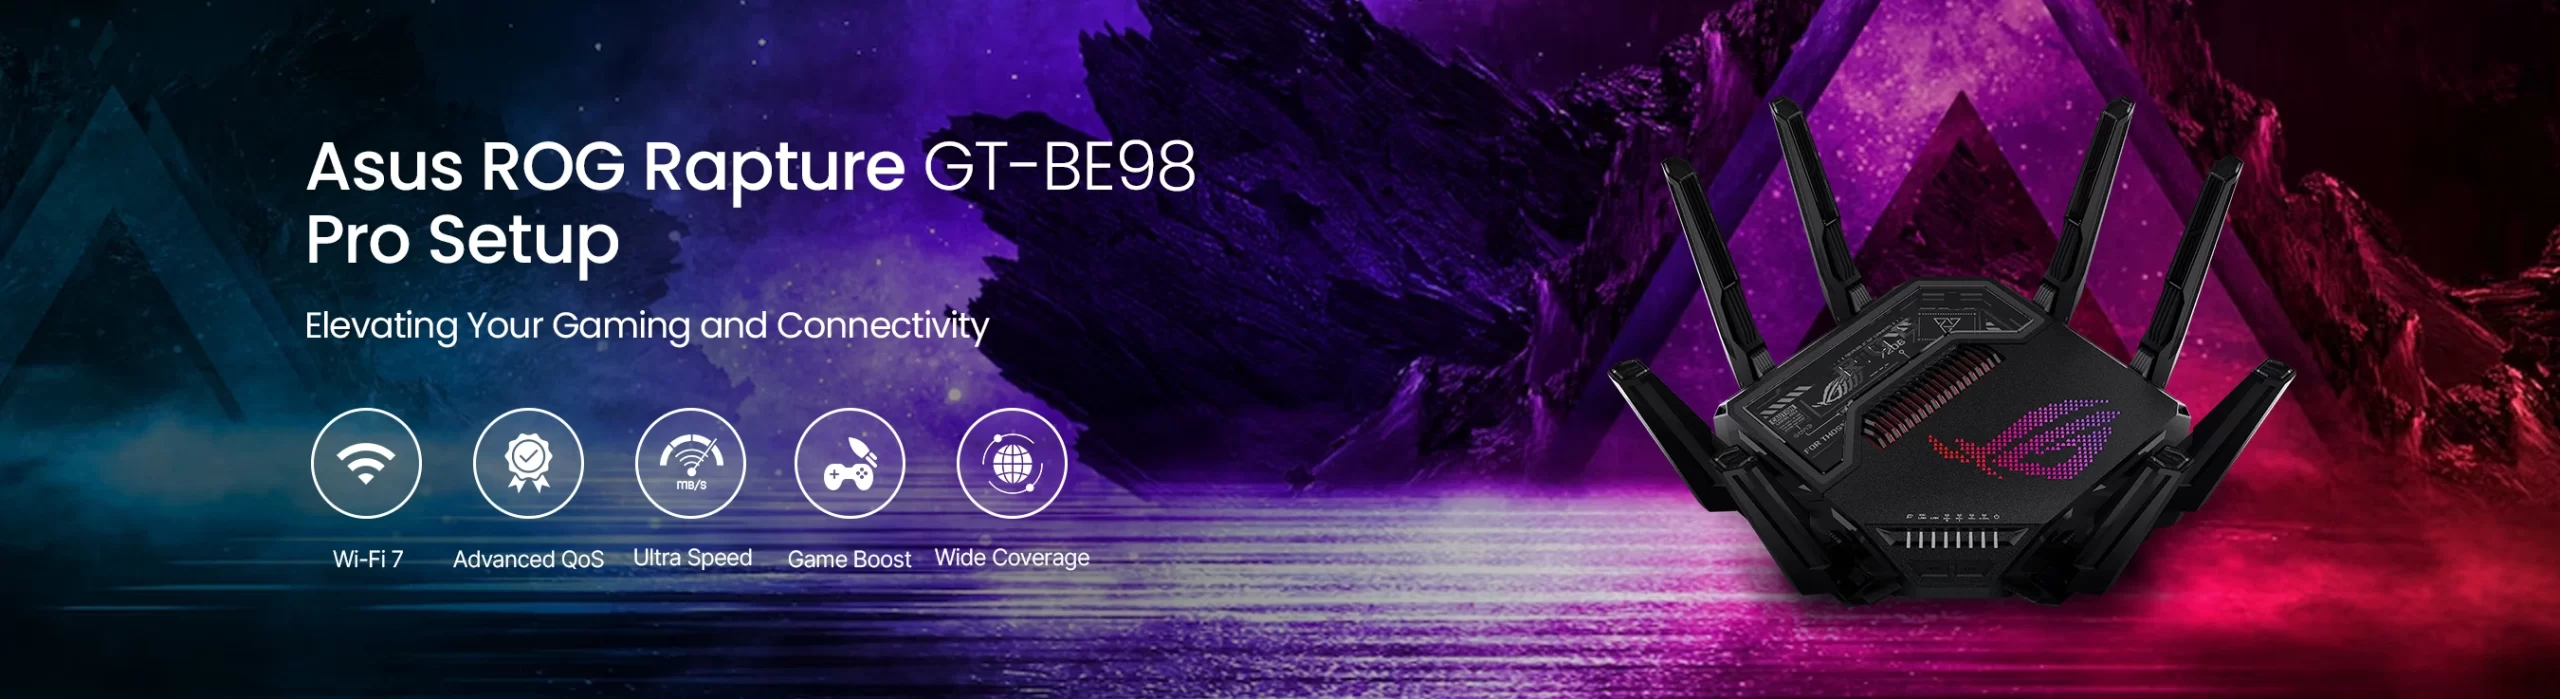
Unlock Hyper-Speed: Asus ROG Rapture GT-BE98 Pro Setup Guide!
Are you ready to witness the pinnacle of smart home networking and truly next-gen wifi? Don’t worry, when you have the Asus ROG Rapture GT-BE98 Pro quad-band router. It is not just an ordinary router; it is a networking beast that delivers minimal latency, unparalleled speed, and better coverage. If you want to maximize your home network’s performance, opt for the Asus ROG Rapture GT-BE98 Pro Setup. Moreover, this definitive guide also presents you with the simple steps to set up this gaming router. Let us quickly walk through this guide to unleash the router setup from unboxing to advanced configuration!
Initial Preparation: Setting the Stage for Flawless Setup
Before you head towards the setup, a few essential preparatory steps need to be taken. This will help streamline the Asus ROG Rapture GT-BE98 Quad-Band WiFi 7 Gaming Router setup process. Now, let us take a look at what’s needed for setting up this gaming beast:
Basic Requirements For the Asus ROG Rapture GT-BE98 Pro Setup
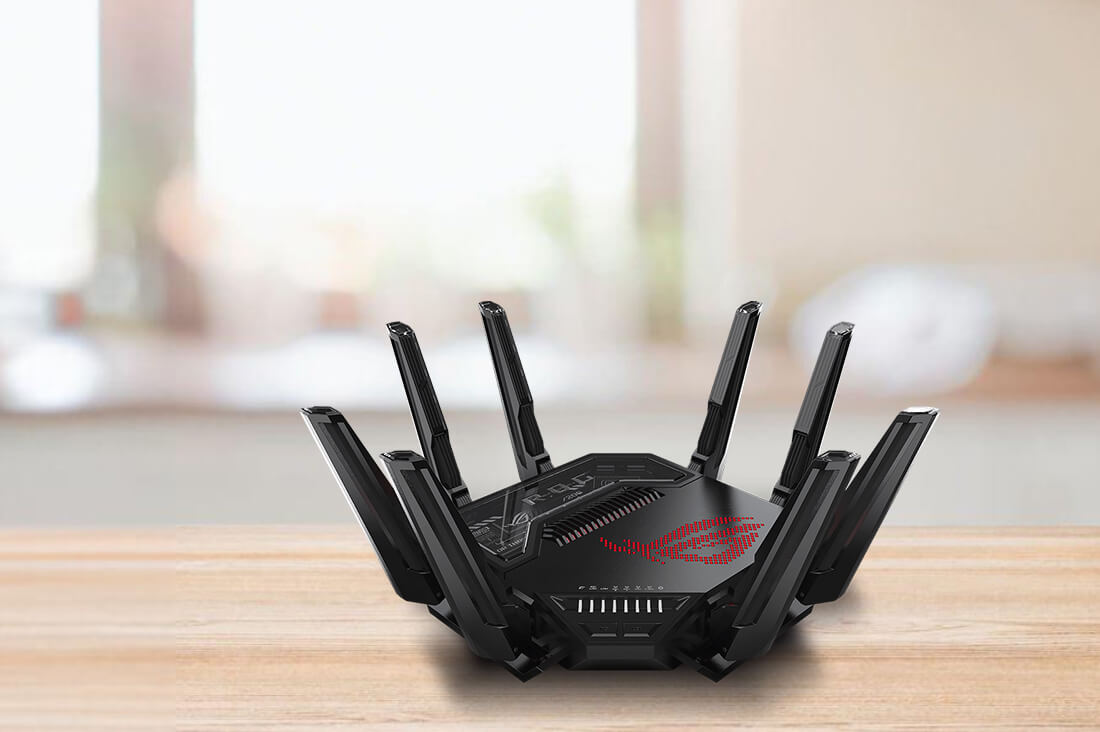
- The Asus ROG Rapture itself
- An existing modem
- A stable 2.4 GHz wifi network
- The default username and password
- Correct Web/IP address
- The Asus Router app
- A compatible smartphone/PC
- Power adapter
- Ethernet cable (RJ-45), etc.
Moreover, you will also need a quick-start guide or manual to initiate the setup. After that, you must install this router at a suitable location. For that, you must follow these instructions:
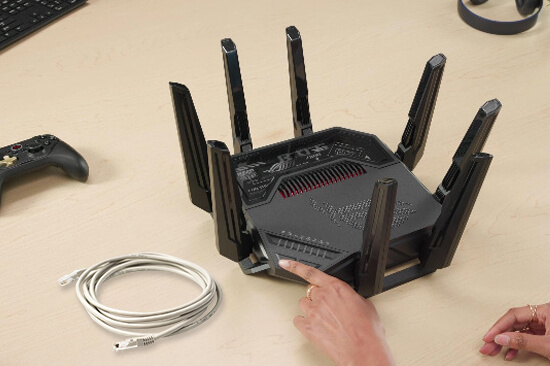
Installation and Getting Set Up Ready
- Firstly, unbox your Asus ROG Rapture GT-BE98 Quad-Band WiFi 7 Gaming Router.
- Then, make sure you have received all the required things in the box.
- Now, place your router strategically at an optimal location for best coverage.
- Most importantly, verify that your router is placed away from trees, mirrors, or any other devices.
- Then, complete physical connection to router and modem.
- Now, power on your router and connect to wifi via the provided Ethernet cable or default SSID and password.
- Wait for the LED indicator to turn solid, and now your router is ready for the setup.
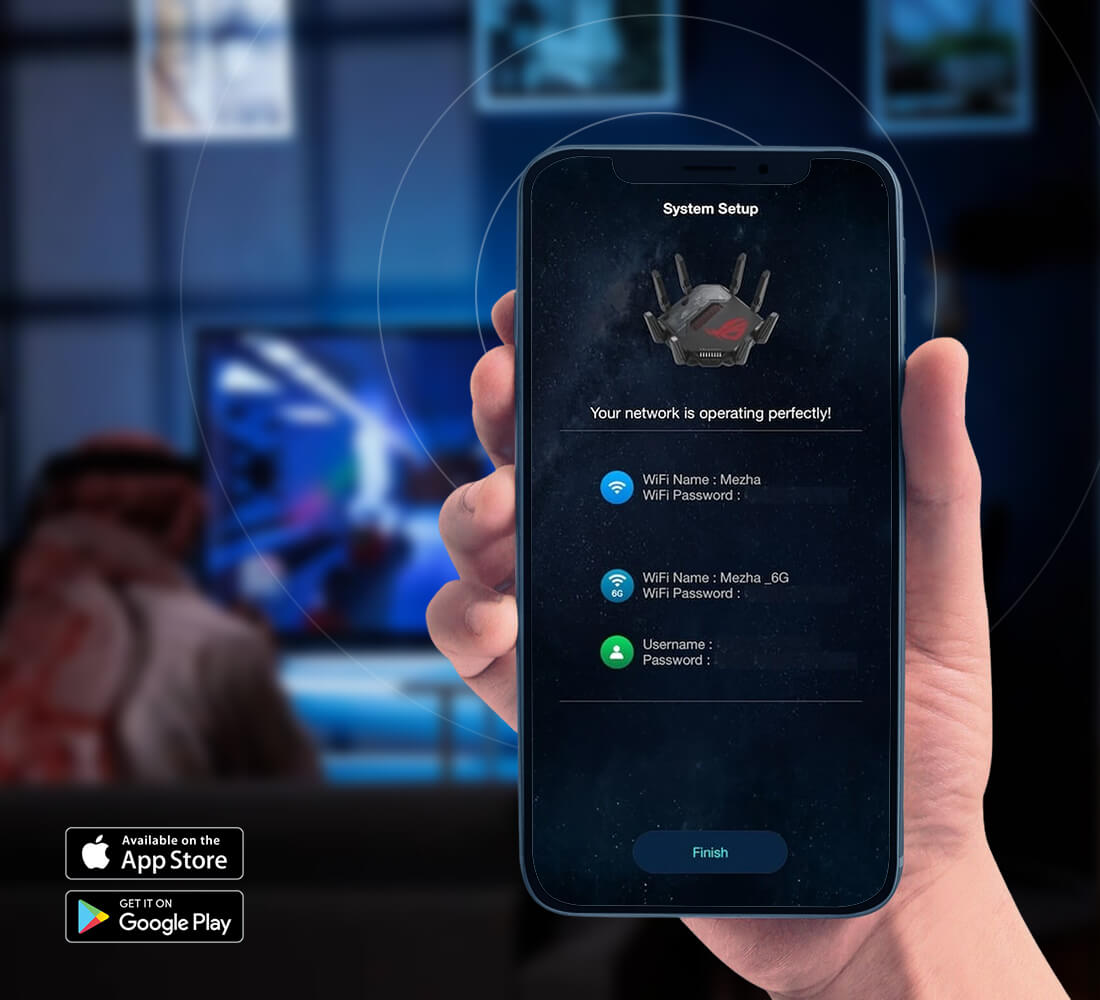
Performing the Asus ROG Rapture GT-BE98 Pro Setup!
Now, let’s get your ultimate router up and running within minutes. You can easily set up your Asus ROG Rapture GT-BE98 Quad-Band WiFi 7 Gaming Router in two ways, i.e., via the Asus Router mobile application or using its web GUI. At present, the app method is the most preferred way to set up your router, because it offers remote monitoring and control.
So, let us walk through the detailed steps to set up your Asus router via the app:
- Initially, make sure you disconnect the existing modem or remove the backup battery.
- Then, reboot your Asus ROG Rapture router and your computer.
- Now, connect your smartphone to the Asus wifi network.
- After that, download & install the Asus Router on a compatible phone.
- Login using your existing admin details and access the dashboard.
- Now, you are visiting the smart home dashboard of the Asus router.
- To add your device, tap the “+” icon at the upper-right side.
- Select your device and follow the on-screen guidelines to connect it to wifi.
- Then, tap three horizontal bars in the top-right corner to visit the Menu.
- You can directly access the Menu by tapping the “Settings” icon.
- Hereon, you can configure the WiFi Settings, security settings, parental controls, etc., as per your preferences.
- You can also enable “Instant Guard” for better security and use your router as a VPN.
- Follow the app instructions carefully to set up your router.
Note: It is highly recommended to change the default SSID and password of your router when setting it up.
How Can I Setup My Asus ROG Rapture GT-BE98 Quad-Band WiFi 7 Gaming Router on PC?
Similarly, you can easily access your Asus wifi router at home on your personal computers or laptops. To initiate the Asus ROG Rapture GT-BE98 Pro Setup, you must connect the router to your PC via an Ethernet cable (preferably). But you can also use the wireless method. Additionally, if you are replacing your existing router, you must disconnect it from the network. Then, you can proceed with these steps:
- Firstly, power on your wifi router using the provided power adapter.
- Next, ensure your PC has a stable 2.4 GHz network.
- After that, the default web GUI of the Asus router launches automatically.
- If it does not launch automatically, enter the asusrouter.com web address in the URL bar.
- Now, set up a strong router password and access the admin panel.
- Further, you will reach the QIS- Smart Connect Wizard of the router.
- Your device will automatically detect the ISP connection type.
- Now, navigate to the Wireless tab under Advanced Settings and enter the details manually to secure your network.
- After that, tap “Apply” and navigate to other settings.
- Then, go to “General Settings” and enable Parental Controls, VPN, AiMesh, AiProtection, etc. settings.
- Similarly, you can configure Guest Network Pro, ALN, WAN, and settings, etc., by visiting the Advanced Settings.
- Finally, save and implement all changes and end the Asus ROG Rapture GT-BE98 Pro Setup.
In short, you have now unleashed the power of the Asus gaming router via Asus ROG Rapture GT-BE98 Pro Setup. If you have more queries, reach out to our experts!
FAQs
My internet isn't working after the Asus ROG Rapture GT-BE98 Pro Setup. What should I check first?
If you are facing such perplexing situations, make sure the modem’s Ethernet cable is safely plugged into the 2.5G WAN port on your GT-BE98 Pro and turn on the modem so it is online. You should carefully look at the ISP login information, notably the PPPoE username and password, in the router’s settings.
How do I access and use the advanced gaming features after I have finished setting up my router?
After setting up, you can benefit from Game Boost and VPN Fusion in the ROG Gaming Center inside the ASUS Router app or the router’s web portal.
Can I use my existing Wi-Fi name and password with the GT-BE98 Pro?
The GT-BE98 Pro gives you the option to use your previous network name and password which allows all your devices faster and more automatic reconnection. However, when setting up Wi-Fi 7, it’s usually best to make different SSIDs for the different bands at first.